shabbyblog

Sunday, August 14, 2011

To someone else's dead Grandma's house I go

Um What?!

I went to my first ever estate sale Saturday. What's awkward about barging into a house of the recently-deceased to pillage through their belongings? Oh, nothing. Especially when all three of the aforementioned dead-lady's (elderly) daughters are asking if you need any help or have questions. What is the appropriate response? "I'm sorry for your loss. How much for this mirror?"
I didn't stay long and I didn't buy anything.
I would expect that some of these rich folk in Nashville would have some killer estate sales. I'll keep my eyes peeled. (Catch the pun?)

So that was the start of my Saturday. The rest of the Saturday morning/afternoon was spent at antique stores. I had a great time looking around, getting ideas (mostly for later in life when we have a house). There are a whole bunch of antique stores and consignment stores along 8th Ave, all clumped together. Very convenient, thank you. 

So my plan was this: Take out $100 in cash and spend no more. Sometimes I go a little crazy at antique stores. And I was celebrating my first paycheck... I don't normally drop a Benjamin whenever I please.

I'll share a few of the things I saw that I thought were cool:

This is the biggest one that I went to, and was most organized. I heart it.
I found strange things like this:


'Cause who doesn't need a larger than life Bruce Lee?
But there were also a ton of amazing pieces, too.
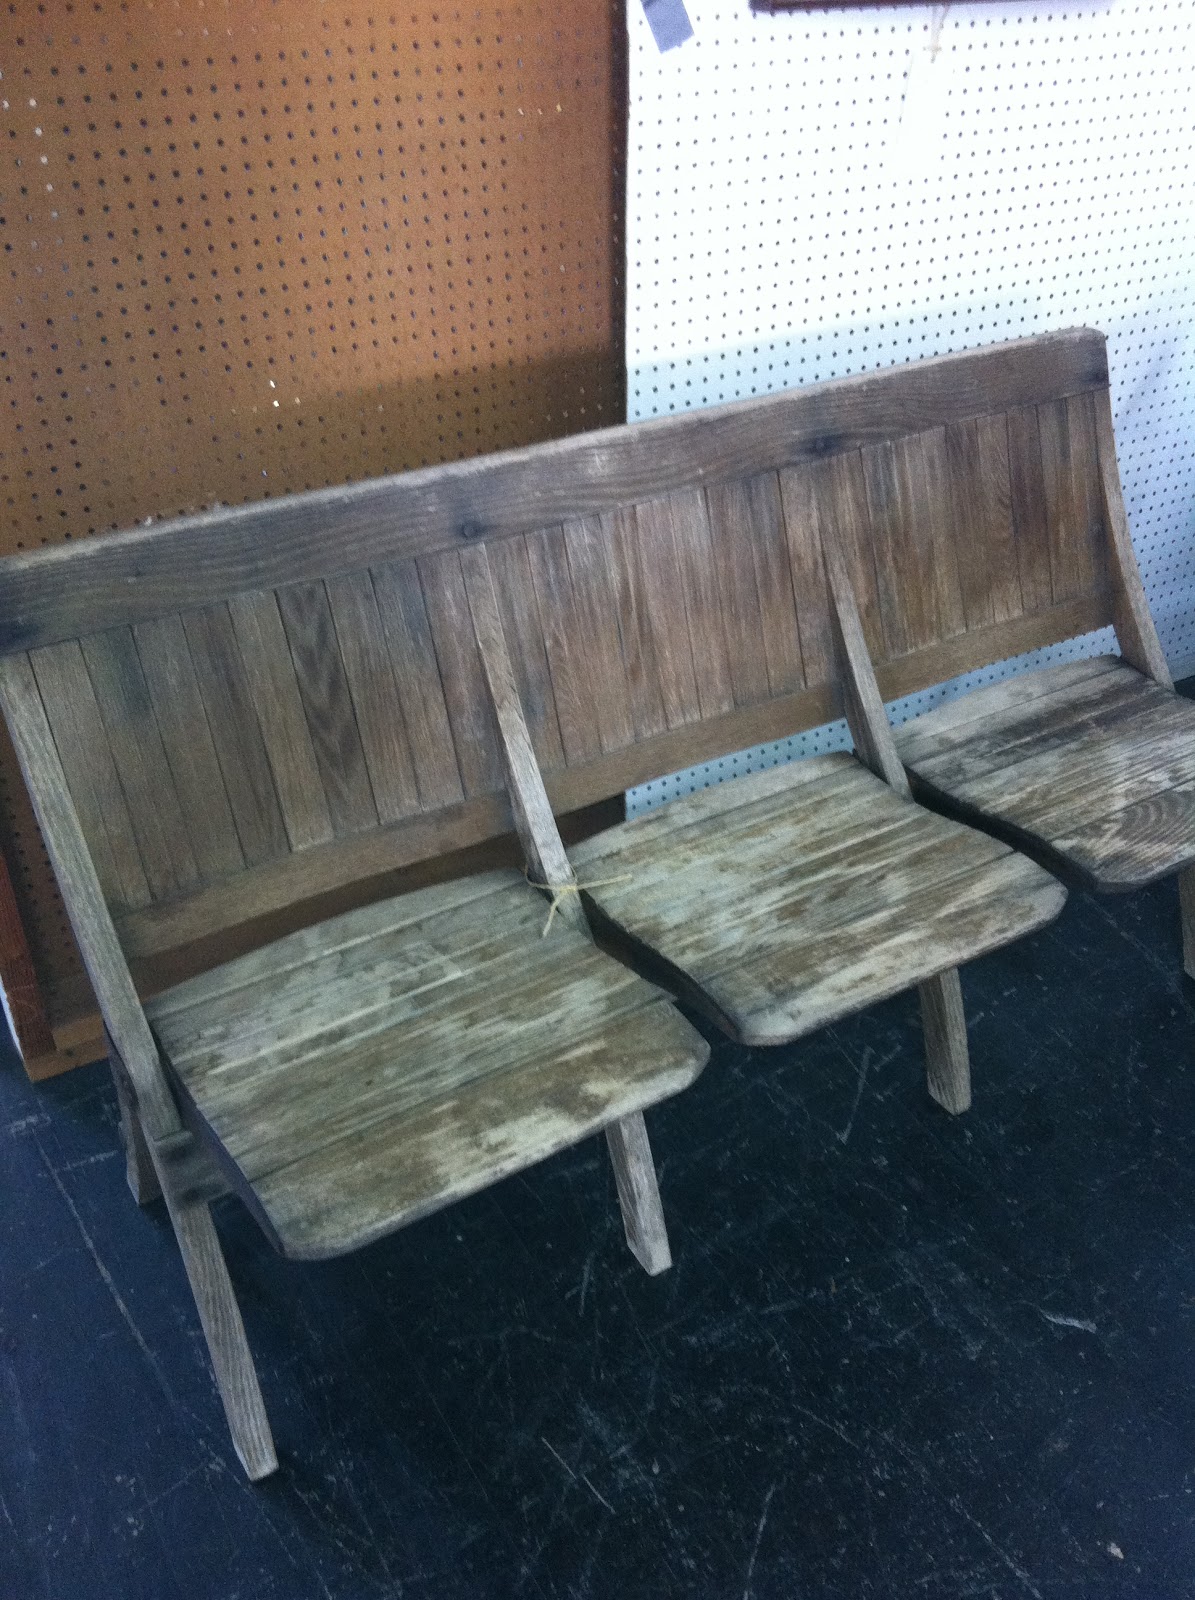


Like this wooden folding chair bench. I take it that it was once a pew because it had the little rack on the back on the left chairback for the communion cups. It was $250, which was about what I expected. Lovely though.


I also thought this enormous copper thing had endless potential. It is a corn husk... something. You could have it just as decoration and store stuff in it. You could utilize it as a central piece in a room and but something tall like branches of some sort. I mean really, possibilities are endless.


I apologize for the quality. The flash on my phone just wouldn't co-operate. But it is an old tool caddy like this one from Secret Garden Cottage's blog:


Except it was really long and had 5 compartments. Can you say coffee table centerpiece? Craft storage? Future dining room table centerpiece? I can see it. And it was only $40 (a good price for those things) I was THIS close to getting it, but found something I liked better.

I'd seen this on Pinterest and put it on my radar for the space above my fireplace:


So when I saw this ladder, that's the first thing I thought about. 


I fell in love. I have future when-we-have-a-house plans for it too. The more I though about it, the less I liked the idea of wrapping it in chicken wire (plus its kinda heavy to hang). It is so beautiful in its own right. I am now planning to prop it up in a corner of the living room behind the chair where there is some empty space. I'm still going to do something to spruce it up. I'll let you know when I figure it out.

Since it couldn't fit in my little Civic, Josh will have to go Monday to pick it up. I'm so pumped and it was less than $30!

Look at this awesome ladder utilization from The DIY Showoff!


Like the ladders in libraries! Love it!

And what antique girl doesn't love old trunks? I always have to stop and look. This one was something like $30 and I was a little beat up but still had a very nice weathered look. And a little bit of red paint.


It was hard to walk away, but I have no where to put it! I actually thought of my mother-in-law. We looked at lots of old trunks together in past antiquing days.

Speaking of in-laws, I found my father-in-law something special too. What do you think? Should I get it for Christmas? *wink* You can't see it, but it is marked down from $500 to $325. What a deal! (I think my mother-in-law would disown me if I did buy this for their house though)


Oh and this surprised me! I saw this out of the corner of my eye and couldn't believe it. These are those pantry storage racks! We had been looking for some that would hang over the door (not have to be screwed in). These probably could be hung but they were reallllly long so I decided to measure my door before I bought them.


So I went to another antique mall and found some other great items.


Old LIFE magazines (which are much larger than their current brothers) for only $3 each. This one caught my eye: "The Incredible Year: '68" This would be a cool display on a wall in an office or a boys room. All sorts of Life mags in frames. When I told Josh about it, he decided he wants to go back and get a few. (He likes the history stuff)

So then I found what I am going to used for the chicken wire piece:


No, not the King Tut poster. The 40x30 wooden frame. It is very light and a great size for the wall above the fireplace! I stopped by Lowes and got the chicken wire and "Vanilla" and "Butter" spray paint (yum) {They are a cream and a soft yellow} But I think a soft blue might be better. Everything in the living room so far is in the tan/white/gold family.

I thought this book was adorable! The Fascinating Story of Dolls


I ended up getting the large frame, this doily-esque pillow, and beautifully weathered copper pan:


While at Lowes I checked out the lamp shade. I got a "small" and a "medium" ivory drum shade to see which looks best.

This is medium. It's a bit oversized but that kinda makes it look retro. The downside: you can't see the little rosette on top.

This is the small. It fits, and you can see the rosette on top, but I think it just makes it look even smaller. (They are already pretty small). And I don't really like that you can see the plain metal part of the "neck." Its hard to tell in the pictures, but does anyone have an opinion?
I wish they had a size in between. Anyone know of any Smediums?

 Also, does anyone have any suggestions for how we can spruce up the ladder (Hang something from the rungs?)

After Josh got home from a weekend gig in Birmingham, I showed him this beautiful scenic road, which of course led to a random playground, so that adventure will hopefully be posted in the next few days.

Stay tuned,
Haley


Saturday, August 13, 2011

Broccolisauri and Falafel Rappers

Lessons from preschool:
As I was trying to diffuse the tension between two 5 year-old boys arguing over dinosaur toys, I pulled on my educational-pants and tried to teach them a thing or two in the process. It went a little something like this: {lets call them John and Johnny}

{John} Teacher! Johnny won't share the T-rex toy!
{Me} Well, John, Why don't you play with one of the other dinosaurs?
{John} No! I don't like those!
**This is the part where I'm racking my brain about dinosaurs. Specifically honing in on Jurassic Park**
{Me} Look, here is a raptor! These are my favorite dinosaurs. Do you know why?
**Insert children's intrigue**
{Me} Because they are smart! The Tyrannosaurus Rex may be big and mean...
{Johnny interjects} AND he has big teeth!
{Me}... yep, they sure do. By the Velociraptor is smart. They have big brains! They have friends and work together. Did you ever see a group of T-rexes together?
{John} {Or the other one, I don't remember} No. Just the momma and the baby
{Me} So the Raptors are cool because they are smart and they have friends and work together
{John} Yeah! I like Falafel Rappers! They have big claws!
{Me} ... uh-huh (Crisis averted!)

Let's you and I review.
They potentially just learned the following things:
1. The name "velociraptor"
2. That they are social and co-operative creatures
3. T-Rex is a solitary creature, not social or co-operative
4. Moral lessons such as being big and strong isn't the most important thing
5. Being smart is cool
6. Working and playing together benefits everyone

But really all they heard was:
1. Falafel Rappers are cool. Big claws!

All-in-all: They just got schooled on dinos and didn't even know it. Did you notice that Velociraptor because Falafel Rapper? I think that is an improvement that the scientific community needs to recognize. Later, as I was essentially quizzing them on dinos, the brontosaurus became a broccolisaurus. I literally laughed out loud. I couldn't help myself. It was so cute.

Side note: I totally just got schooled, too, because I had no idea that "velociraptor" was one word. 

***

I was also impressed with a 3-year-old boy who apparently has an environmentally-conscious family because this went down:

We monitor the kids as they go potty and wash their hands because so many of them either sit and play in the water all day, or they try to get sly and just run water over them and not actually clean them with soap. In this case, a little girl was playing in the water. 
She was actually putting her hand around the faucet so that water was spraying all over the counter. 
I told her something along the lines of, "We don't play in the water when we wash our hands. See how much water was wasted on the counter?" 

...at which point the little boys behind her says, "Yeah, if you waste the water, the earth will die!" 
Again, I couldn't help but giggle and just say "That's right." What killed me was the way he said it so dramatically and bug-eyed. 

***
Oh and I unintentionally taught the 3-year-olds to say "Look at my sweet moves" when they dance. Kids really do repeat everything you say.

I hope to have an update about the rest of the week soon including another concert (crazy, right?) and antique store finds.

So stay tuned!
Haley

Sunday, August 7, 2011

Weekend Adventures: August

A weekend in review as recounted by out iPhone photos.

This weekend included movie date night, lazy mornings, tax free weekend, live music, new church, and a hidden trail.

Friday after work we had movie-night. 


Um... SO good. Funny (hysterical even) while maintaining a quality that most romantic-comedy movies don't. Touching, cute, insightful, and cinematographically lovely. I highly recommend it.

We also want to see Beginners. Watch the trailer. Love me some Ewan McGregor. 

Saturday we had a lazy morning. I made some peach pecan muffins from scratch. I had planned to make blueberry muffins again, but the blueberries got gobbled up before Saturday, so I used allrecipes.com to find an alternative utilizing what we had. (Love that site! You can create a virtual recipe box and save the recipes you want to try.)  

After lunch we took advantage of tax free weekend.

Be bought Josh a couple of these:

Shirts, not boy toys

Black fitted button-downs from Express. I'm pretty proud of our savings, so I'll share. 
Normally $60 each (meaning we would normally never purchase them)
+ tax free (10% savings)
+ Express sale: Buy one get one for $20 ($40 savings)
+ a coupon from Josh's mom: Save $30 off a purchase of $75 or more
= Total spent: $50 for TWO Express shirts.
Total savings: $70 (not including the tax we saved).

Why did we opt for such fancy shirts for Josh? Because he has joined The Tennessee Three. He will be the new touring drummer for the legendary Johnny Cash band. Bob Wootton was Cash's guitar player from 1968 on, after Luther Perkins died (the original guitarist). 

This is Johnny cash in 1974 (you can hear Bob's guitar solo at about the one minute mark)

He still tours playing Cash/Carter songs with his family and maintains the name "The Tennessee Three" {It used to be Johnny Cash and the Tennessee Three}.  We are beyond excited. Since Johnny Cash's signature look was all-black, we decided to get some fancy black clothing.

We were planning on utilizing tax free weekend to buy the Mrs. some new clothes as well, but if you know me, you know that crowds stress me out. It's the chaos and the in-my-bubble-ness. I don't like strangers bumping into me. Or dodging rude people who don't gently move out of the way. 


So we moved on to coffee from Bread and Company before dinner at Demos' Steak and Spaghetti House. Yum! It is our current Nashvillain favorite restaurant.  


If you come visit us, we WILL take you here. Delicious and affordable. Josh applied to work here and got the job, but we would have had to shave his beard, so I vetoed that job. I'm protective of my man's beard.

Speaking of:

I love my husband! Especially his beard.

After dinner we chose a bench in the Batman Building courtyard to relax before the Decemberists show. 

 No instagram effects :(

After we felt our food was sufficiently settled, we walked across the street to the Ryman to find our seats.


We learned our lesson the hard way: always opt for the balcony at the Ryman Auditorium!


This column was not conveniently placed.


And the lights were often right on us... 
But the show was so great. Colin Meloy has such a dynamic stage presence. I love it when musicians interact with the crowd.

Sunday we got up and went to church. Thus the church-seeking process begins. This week we tried Journey of Franklin by recommendation of one of my co-workers. 


We definitely could see ourselves there... because they had us at "Welcome, help yourself to some coffee"


 But really because it had a modern service and a young crowd. Not to mention it is located inside The Factory, which is one of the places that makes Franklin such a cool place. 


It is actually set up a lot like First Hattiesburg (which we miss dearly) but a lot smaller. We are going to try it on for size for a few weeks since this week wasn't a "usual" service (guest speaker). 

Since we love Franklin and hope to someday buy a home there, we decided to drive around and get a feel for the residential areas. Um... can't quite afford, well anything we saw. But I'm convinced a perfect, cozy little home is out there for us. 

Whilst exploring and marveling, I saw a sign for an "overlook" and we pulled over. At the overlook was a little trail. I freaked out a little. 

This is the view from the overlook... foothills of Franklin

The aforementioned little path

I wasn't exactly anticipating a walk through the woods when I got dressed this morning. But I made due.


We had a lot of fun fantasizing about living on a parcel of land in the mountains where our future little ones can play in the woods.

... UNTIL ...


A fallen tree blocked the path. We actually did jump over it (which was an ordeal in my pretty dress) but the path kinda ended about 100 ft past it. 


Apparently it didn't lead to any big scenic view. Sad. But we still had a good time.

Well that's all from this weekend's adventures. This week I get CRP and First Aid certified. Til next time! Stay tuned, 
Haley


Wednesday, August 3, 2011

Yum Town

Do you like the new look? I found the background at ShabbyBlogs via my friend Mallisa who just started her blog. I still haven't really figured out this template-adjusting biz. Maybe one day. 

I couldn't help but share this delicious treat with you.

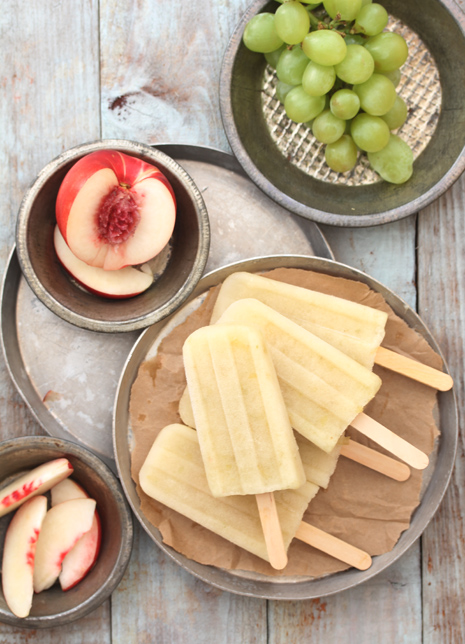
A blog I follow called Bakers Royale always has tantalizing recipes popping up on my feed. At a glance, they all seem way beyond my current skill set. (However, that won't stop me from trying.) All summer they have been posting "Cocktail Popsicle" recipes. Yep. You read that right. Cocktail popsicles. 

uh... now that is something I think I can conquer. Here is one that caught my eye today:


I'll allow you to gawk for a moment.
Some examples of their more involved recipes I'd like to take a bite out of (pun) include blackberry cabernet cupcakes, nutella pastry pockets and chocolate mousse brownie bites. Sweet tooth much?

In other news: Our DIYing will be pretty minimal for the next few weeks. Since I just started my job, it could be 2-4 weeks until a get my first paycheck (I should probably check on that, huh?), so we are going to play it safe until then. I guess I could walk you through some projects I did before I started the blog, which means I can't show you step-by-step pictures, but I can supplement. 

In the "life update" arena: Josh has been very busy today meeting some pretty substantial musicians (including Taylor Swift's studio drummer). I'm so excited for him. He has waited so long to be in a location where music is a viable and expanding occupation.  

Well basically this post is just to share the happiness of finding that White Sangria Popsicle recipe. Pretty pitiful.

Stay tuned,
Haley

Tuesday, August 2, 2011

New Job Discretionary Tale

As some of you may know, I started a new job this week in my new city. I am officially a preschool teacher! Because of the nature of my job, I want to be sure to protect the kids and my school and respect their privacy. However, I will keep you updated on cute little anonymous anecdotes from the day and lessons I've learned from my job and the kids (since we all know that children unintentionally teach you almost as much as you teach them). 

For example: My preschools taught me today that I rely on auto-correct and spell check entirely too much. I got super paranoid about dictating how to spell words for them to write down on paper that their parents will see. {a writing activity: "my favorite move is..."

As in... all flustered and I second guess myself on how to spell words I KNOW how to spell like "despicable"... and a huge inner-dialogue of self-deprication and English phonetic rules run through my head in a matter of me saying "Your favorite movie is Despicable Me? That's a long word. I'll help you spell that"

I'm really thinking. "Seriously kid? Despicable Me? You couldn't have been like your friend Johnny and pick Toy Story? Let's see. D-I-S-picible? No... D-E-spicable. No. D-E-S? Yeah I think so. Visualize the movie. See the poster in your head. It ends in A-BLE. If I could just discretely grab my phone and let it auto-correct me to be positive. Oh my gosh, Haley. You are a college graduate. Don't let this preschooler intimidate you. Get it together!" 

On the flip side. My job can also be one of the most rewarding jobs on the planet. Shaping these little humans to be kind and honest is our goal. We get to love on them and see their tiny faces light up when we tell them they are doing a good job or that picture they drew is beautiful.
And that kids are pretty darn cute when they are napping.
That's all for now folks. Stay tuned!

Monday, August 1, 2011

Pallet Coffee Table Tutorial

If you are a Pinterest advocate, you may have noticed that repurposing wooden pallets is all the rage in DIY-Land. Well I jumped aboard that bandwagon. The pallet-style coffee tables I had seen had all utilized rather large pallets that would probably take up all walking space in our little apartment. So when Josh found these three little guys behind a Mexican restaurant and brought them home as a "surprise," my mind started racing. I wanted to take what I had seen and make some adjustments. (side note: you know you are deep within DIY-Land when Husband brings home Mexican-restaurant-trash and you get all giddy)

Remember the pallets we stacked as a coffee table?


Pretty snazzy, huh?

Well I had bigger dreams for this guy. Dreams of rich stain, storage, and legs. I'm here to tell you dreams do come true! (Well, 2 out of 3 in this case) Introducing Sorta-Finished-"Special"-Walnut-Coffee-Table!


Mmmmm... Chocolate-y goodness... well really walnut-y.

Staining the three pallets was easy enough, though incredibly time-consuming. I definitely would have done things a little differently, and I'll give those tips at the end. 

First, gather your supplies.


Enter: our new orbital sander DeWalt. We got this guys for $60 (no big sale or awesome deal to brag about, unfortunately), but we figured we were going to be needing a good sander for many future adventures in DIY-Land, so we may as well bite the bullet. We also got Medium and Fine grit pads.

Also included in the toolbelt:
  • container of water (something disposable), 
  • rag (or 2), 
  • old paint brush (or 2), 
  • stain of choice (in this case: Minwax Ebony & Special Walnut)
  • tarp (if you happen to have to do all this on a 3rd {though really 4th} floor patio)
So obviously you sand the wood first. I was really nervous/anxious throughout most of the sanding process because I was just waiting for any of our neighbors to shake an angry fist at me, and therefore kept checking over my shoulder and down through the slats of the balcony as if I were expecting the KGB to show up. 


Luckily they did not. And after a while, I relaxed. I was so happy to find that this sander sucks in the dust and traps it for you. I mean, like, really efficiently. I was pretty worried the neighbors below us would come home to find all their patio furniture covered in... sander-dust? All in all... I was nervous about our first project in an apartment complex.


The wood was already raw, so I was just removing the grime and smoothing it out. I also dulled the edges in case any shins accidentally found them in the dark... or little nephews. This is a plank half-way through the sanding. Can you see the difference from the dark-grime to the light-ungrime? 

Well I can.

(Side note: I had to hand-sand the inside spaces, which resulted in a pretty nasty splinter, thus half-heartedly sanding the rest of those untouched-by-power-tools areas.) 

So once all three pallets were sanded, top and bottom and edges of each plank, mind you, staining begins. I used a technique that Sherry from Young House Love demonstrated in this tutorial. The irony? They used this technique because they wanted their new wood to look like old pallets. We already had the pallets in great condition, but I wanted more color from them. In the end, they don't look very "weathered"... just dark. 

Anyway. This is how it went down.


First you use a brush to wet the wood. This way it doesn't absorb a ton of the ebony stain. It is best to go one plank at a time. Don't get overly-abitious or the water will soak in before you get a chance to stain.


Then you brush on ample amounts of the ebony stain. Be prepared for dripping and splattering. I looked like I had some strange skin disease by the end of it all. 


Use a rag to wipe off the excess. It is up to you how much stain the wood takes in based on how much water you "pre-soak" with and how long you let the ebony stain sit. I sometimes did two ebony passes if I wasn't satisfied with the texture I got. 


(Forgive my pasty legs and socked feet- the tarp was really hot and the socks buffered the heat)
Don't forget to get on the "inside" spaces, edges, and ends. I usually did something like this to easily access the hard-to-reach areas (aka-Splinterville or Untouched-By-Power-Tools-Land)


Here is an example of the difference.


And here is an entire-pallet before and after. Honestly, you could leave it at that. Maybe add some poly to make sure it is all sealed and call it a day. But not this gal.


I moved on to add Minwax Special Walnut stain. I experimented a bit with the middle pallet to see how dark it would turn out and if there were any tricks I wanted to try. I tried the same technique as the Ebony (water first, stain, wipe),  but honestly, it had little effect because the Ebony stain was already working, thus repelling the water. So I gave up on any special antics and just directly brushed it on. Sometimes I would wipe off the excess, but that was mostly due to impatience. 


(Again, excuse the pasty leg)
See the difference? Pretty noticeable this time, eh?
So then you just wait for the stain to dry (cause for one thing, it's pretty stinky)

Here are some pics of why the pallet that is on top is my favorite. It has some pretty spectacular details if you look hard enough.

 
Knots and Print

Cool waffle texture

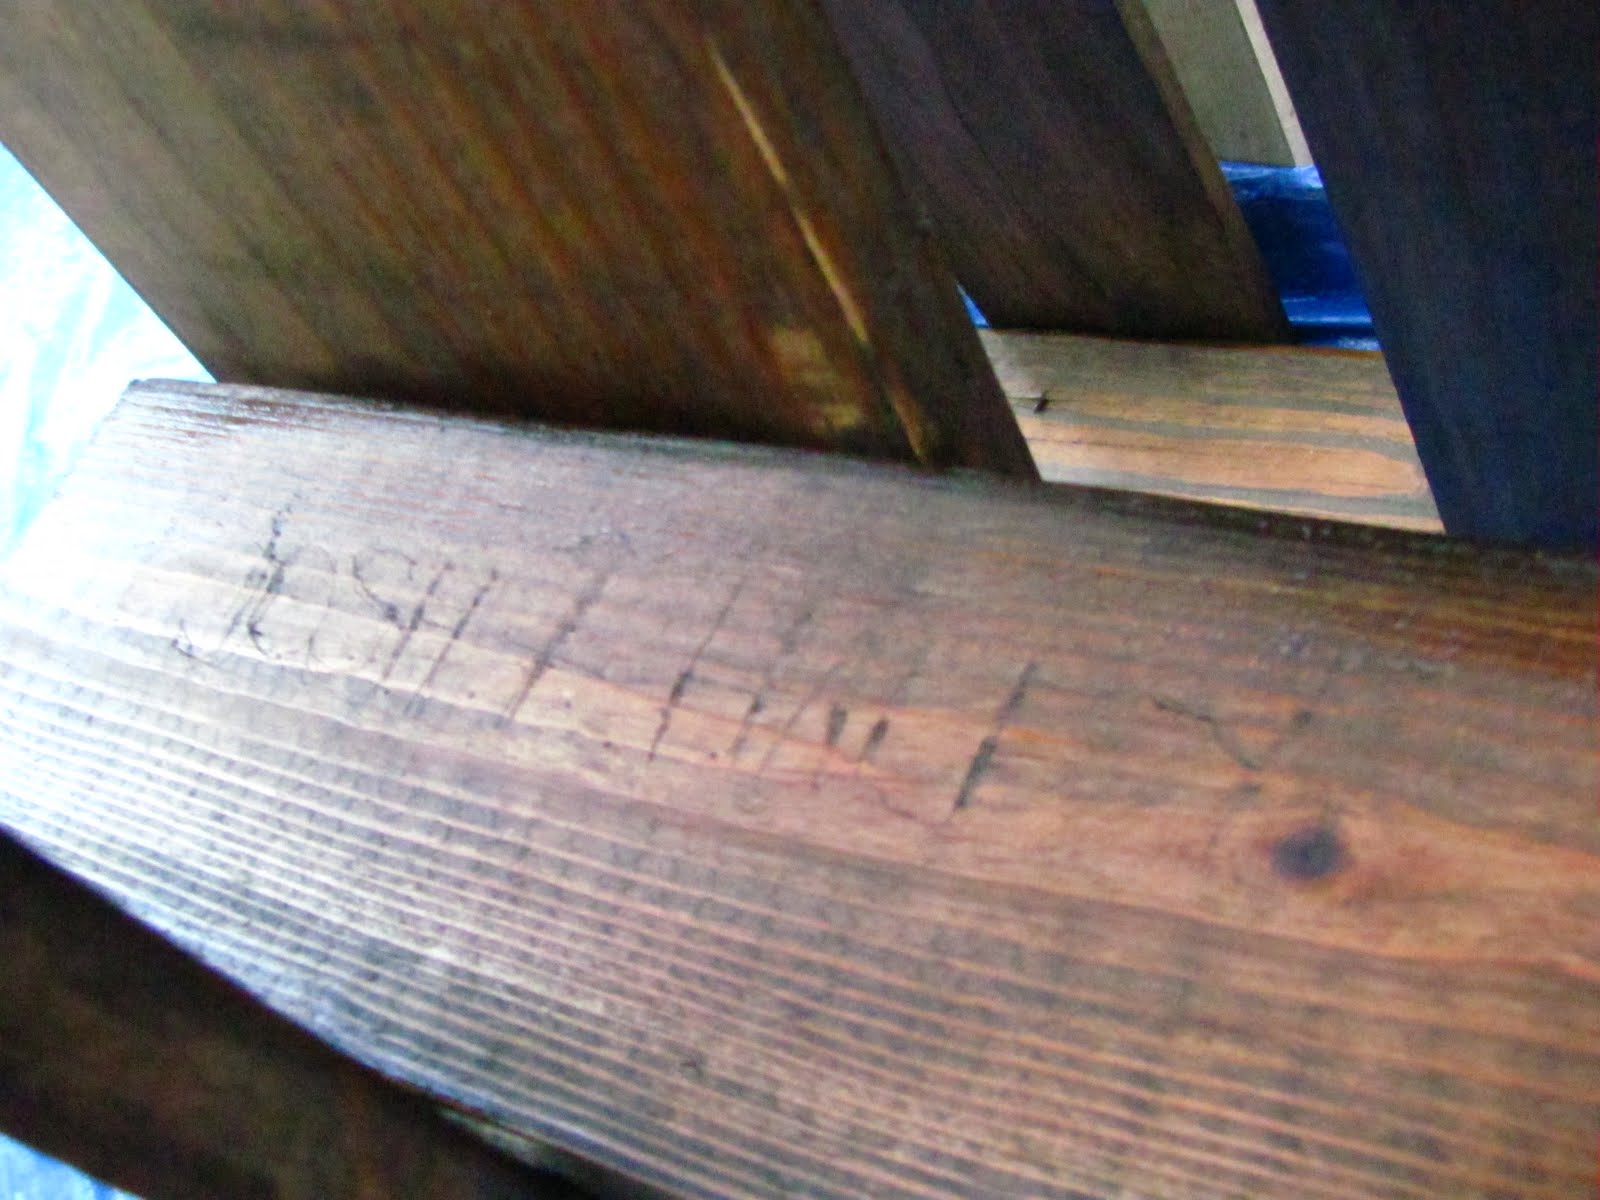
Did ya catch that one? I caved "Josh + Haley" into one of the beams. You can barely tell... but it makes me very happy. Disproportionately happy. Because I know it's there. 

Oh, and while Josh was out getting groceries and such, I asked him to stop by Lowes and get legs. After much picture messaging back and forth to show me all my options (I probably should have just gone with him), he came home with these:


The shape vaguely matches that of the legs of the couch and chair. Since they are a different type of wood, I knew the stain would look different. But I made peace with that fact quickly because they were going to be in the shadows of the coffee table anyway. 


So I painted a sloppy coat of Ebony (no water coat this time) and wiped it off.
Then coated them in the Special Walnut.
(No picture of all 4 fully-stained, sorry. But you get the idea, right?)


So that was about all I could do that day (Friday) until it all dried. 
I noted how much more of the Walnut (left) I used than the Ebony (right). 
In case you cant tell, I used probably 2/3 of the Walnut and maybe 1/3 of the Ebony.

I was a little worried about leaving them outside overnight because 1.) The stain is pretty sticky until it dries and stuff might stick in it, and 2.) it had sprinkled earlier and I was paranoid it might rain overnight.

So we brought them inside and made a little teepee of pallets in the living room (on a tarp so it wouldn't stain the rug) and put a fan on it.

Boy am I glad I did that. It POURED Friday night. 

I'm pretty proud that I resisted the urge to mess with them before they were dry. I'm not one for patience. But luckily we were well-occupied Saturday around Nashville, so I wasn't even at home to think about it. When we got home that evening, we got back to work.


Installing the legs was very easy. They already has little screws sticking out of the top, so we just placed them were we wanted them (about an inch from the edges), pushed them into the wood so the screw would make an indentation, then Josh drilled a little hole where the marking was, and screwed in the legs.


And just like that, our coffee table had appendages.


So we removed the tarp and stacked the newly-stained-still-a-little-sticky pallets and viola. 


The plan is to cut out part of the boards from the next-to-bottom shelves to create little cubbies, insert baskets, and instantly have storage.  Hard to explain, I'm sorry. I'll just have to show you whenever we get about to actually doing it. First we must retrieve Josh's Skil saw from Hattiesburg. Oops. 

Lessons Learned:
  1. I would recommend using a separate brush for the water. The two stains were fine for the same brush, but the stain left in the brush when I used water affected the outcome of the ebony stain. And it ruined the tupperware container that I used for the water because so much stain settled in (and I even washed it out a couple times in the process). A separate brush might have prevented this.
  2. Gloves wouldn't hurt, especially in the sanding process. 
  3. Do all this in a well ventilated area, especially the stain. And read the cautions on the stain.
  4. Be prepared for splatter, spills, and other stain-related tragedies (i.e. don't paint/stain close to walls, directly on any flooring you value at all, in any clothes you aren't willing to throw out... or designate as painting clothes)
  5. Allow yourself plenty of time (It took me about 6 hours for the whole sanding/staining process)
  6. You might want to try completing one side or pallet then moving on. Meaning do both stains in one sitting. I went through all three pallets with the water/ebony process, then went through all three again with the walnut. It was daunting to have to do it all over again. 
  7. Double or triple check that you got to every nook and cranny, edge, corner, and knot.
  8. We haven't poly'ed yet, but we plan to. This will ensure a protective layer from condensation-cups and the like.
  9. Take breaks or your neck/back will kill you the next day (speaking from experience). I sat down and basically worked straight through with maybe 2 five-minute breaks. What can I say? I get in the zone.
Budget breakdown:

Pallets (3)...............Free
Ebony Stain..........$7.50
Walnut Stain.........$7.50
Brush....................$1.50
Legs (4)..............$28.00
Total...................$44.50

(Not including the sander because it was something we were planning to get anyway, and it will be used many more times)
I admit, the legs are a little, um, ridiculous, but have I mentioned I'm a bit impatient when it comes to my projects? I just really wanted some pre-made easy-to-install legs. I probably could have FOUND something to used as legs had I waited. But all in all, a coffee table under $50 is a nice deal. 

Check out these other ideas and subscribe to their blogs!

My friend Holley recently posted this uber-cute repurposed pallet shelf! I've been crushing on it, and even considered sacrificing one of my pallets for this purpose, but I was already so committed to my coffee table.


Or check out this post from Blue Velvet Chair that has several ideas for pallet freecycling. Some of them, though fantastic, are way out of my skill set. Others are a "someday" project. Perhaps when we have more room. 


and


Have you seen any other repurposed pallet projects you love? Any plans to use pallets around your own house? 

Stay Tuned, Folks
Haley